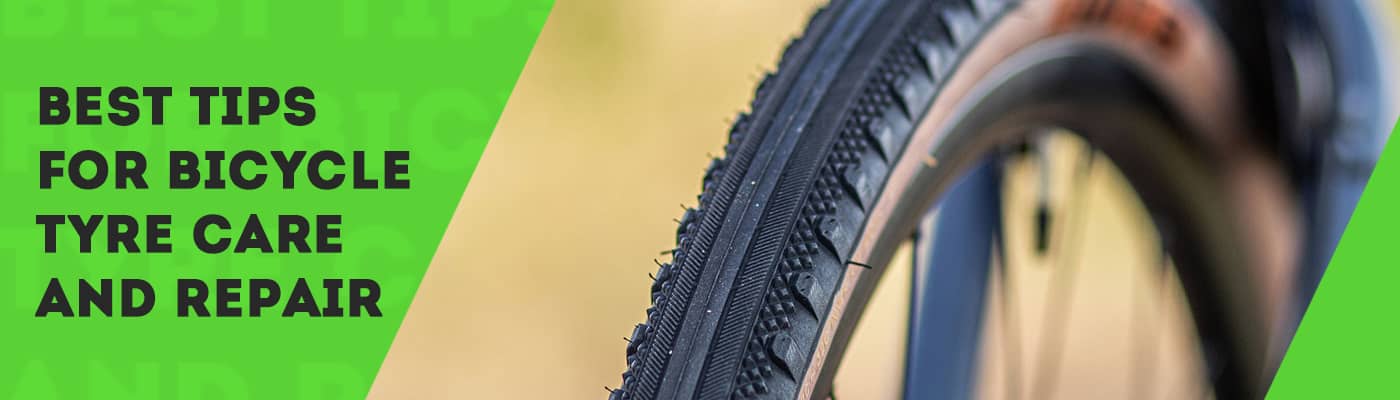
Best Tips for Bicycle Tyre Care and Repair
-
Team 91

- 5-minute read
Imagine you've spent a lovely day cycling with friends and exploring the outdoors. Unfortunately, while returning home, you realize that your front wheel has got a puncture. The location you are at is sparsely populated, and there's no mechanic in sight. You and neither of your friends have the handy tools to help fix the flat. You do not wish to obliterate the punctured tyre by continuing to ride on it. After a long walk of pushing your mountain bike along, you finally find a person who can repair the tyre. It was an unfortunate and disastrous end to a memorable day.
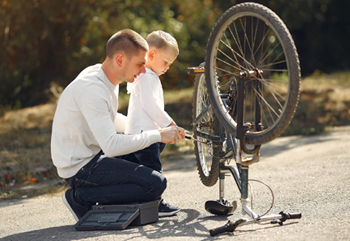
The bicycle tyre is one of the essential components of your bicycle. The tyres are the only part of your bicycle that is constantly in touch with the ground and have the power to make your ride enjoyable and safe or, if not taken care of, can be puncture-prone.
While one cannot ensure that you will never get a punctured tyre, being prepared can minimize the adverse effect. Getting a puncture is one of the most common issues during a bicycle ride. Like any motorized vehicle, a bicyclist should have a spare and the necessary tools to replace the tyre with a puncture. While other automobiles likely have a ready-to-replace spare, a bicyclist must carry a spare tube and a bicycle pump. Repairing the flat or leak should preferably be done post-trip unless you have no option.
While we shall explain how to repair a tyre puncture easily, we find it valuable to share information or tips on steps you can take to avoid a flat. By using our recommendations, you can avoid these frustrating events and enjoy the awesomeness of cycling.
Minimize the Risk of a Puncture
Follow these precautionary measures to minimize the risk of having a flat.
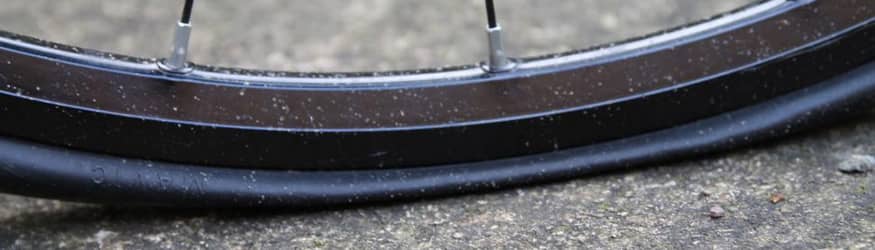
1) Press to check the tyre to ensure that they feel firm and are not too inflated or deflated. The most common reason for a puncture is incorrect tyre pressure. The best approach is to check the psi using a pump with a gauge and correct the level if required.

2) Do a visual check before every ride. Some cyclists choose to do a visual check post-ride so that you're ready, and even if, in a hurry, the inspection has been completed. In your visual lookover, scan for cuts or cracks or anything lodged in the tyre. Pry out any object that should not be there.
3) Pay attention while riding. It is common to see sharp objects like metal pieces, stones, nails, or even glass pieces on the road, especially to the side or close to the gutter that many cyclists prefer to ride on. Go slow and avoid that section.
However, even after following all these precautions, you may eventually get a puncture.
How to Recognise a Puncture
Pay attention to your tyres by periodically checking even when you are out riding to see if you can catch it at the time it has gone soft. It is better to realize that a tire is getting soft rather than that it is already flat. If you feel minor hard knocks in-between a soft ride, check if the rims bottom out on bumps in the road or if the bicycle flounders when cornering. These are signs of a tyre going soft and need your immediate attention.
#91Tip: Do not ride on a bottomed-out tyre which can damage the inner tube and the rim.
Now that you're aware of what signs precautionary steps to avoid a flat and cues to recognize a flat let's detail the steps you need to follow to fix a leak.
Fixing a Puncture
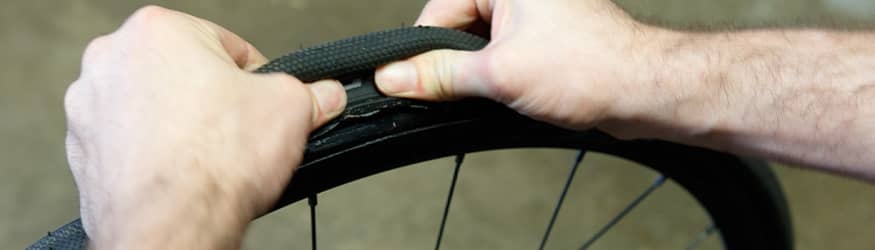
1) Pry out the Tyre tube
Taking the tube out without entirely removing the wheel and the tyre is a desirable skill to master. You will need at least two levers to pry out the tube from between the wheel rim and the tyre. You can patch a punctured tube without removing the entire wheel, but you would need to remove the wheel to replace the tube.
2) Find the Leak
If the leak is not apparent, pump up the tyre and pay attention to the hissing sound of the air escaping. A slow leak may be difficult to identify. Alternatively, as a last resort, immerse the inflated tube in water and look for bubbles. Remember then to dry the tube well before you can patch it.
#91Tip: To identify the location of a slow leak, hold the tube close to your lips, preferably wet, to feel the air coming out. Your lips are 100 times more sensitive than your fingertips.
3) Buff the Leak Area
Use a small piece of sandpaper from your patch kit or tyre repair kit and buff the surface, making sure you include an area a bit larger than the patch. If a moulding line runs along the leak area, you should be sanding it down thoroughly, or it would probably be a spot to get an air channel. Now sweep or dust off the sanding dust with a dry hand or cloth.
#91Tip: In case you have no sandpaper, rub the area on clean, dry pavement. The best would be on a concrete road if possible.
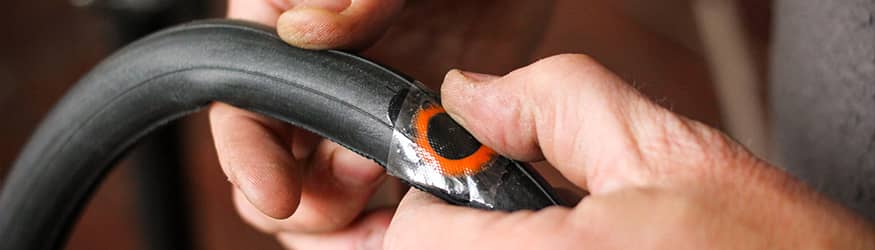
4) Patch the Leak
Apply a dab of glue and spread out a thin, smooth coating using a clean finger. Let the glue dry completely. Now peel the foil and press an appropriately sized patch to cover the leak area, preferably overlapping the area by inch around. Press the patch lightly onto the tube, starting at one end and move to the other end ensuring no air is trapped under it.
Be wary of patch failures that can occur due to these reasons
1. Your buffing with the sandpaper was not done as required.
2. The glue or cement did not cover the entire area of the patch size
3. Not allowing the adhesive to dry before you applied the patch.
It is valuable to list things that should form a part of your portable tyre puncture kit.
1. Tyre levers
2. At least one, if not two, spare inner tubes
3. Patches, a small piece of sandpaper, special rubber cement or glue, and some old bits of tyre that are useful to reinforce big holes
4. A tyre pump, preferably with a gauge
Do you have unique tips or hacks on bicycle tyre care and repair that you would like to share? We'd love to hear them. Please do write in the comments space below.
Related Blogs
Cycling Tips
Conquer the Ride: Essential Bicycle Repair Tips for Every Cyclist-
Team 91

- 3-minute read
Learn how to fix common bicycle problems easily! From flat tires to loose chains, this guide helps you keep your ride smooth. Perform quick safety checks before every ride for a worry-free cycling experience. Gain confidence as a cyclist with basic repair skills!