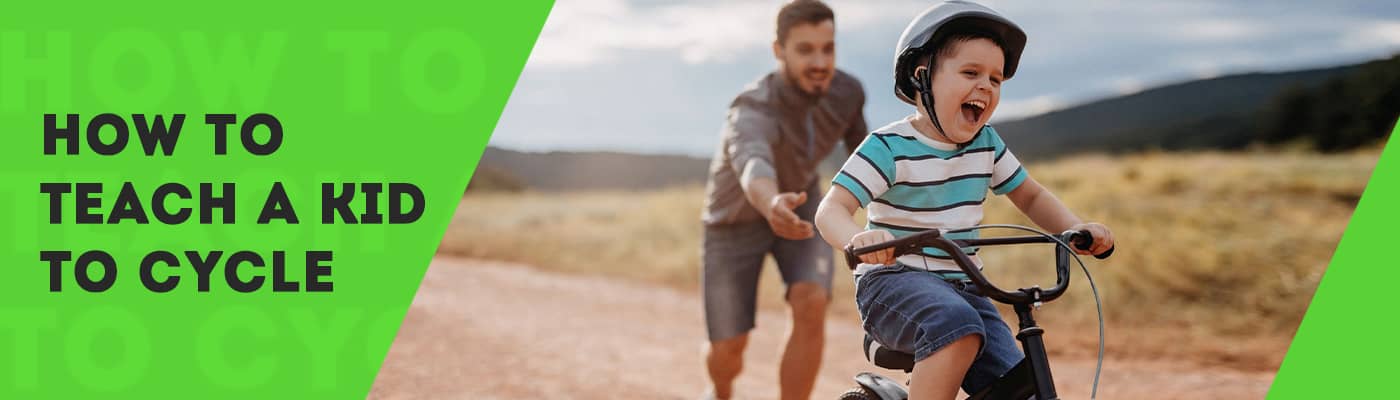
How to Teach A Kid to Cycle
-
Team 91

- 6-minute read
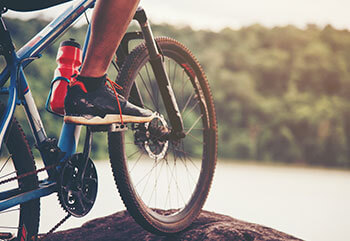
Around the ages of one and a half to two years, most children get their very first set of wheels in the form of a tricycle. The tricycle is the first step to pedaling away comfortably indoors or in backyards. The tricycle gives way to a bicycle with training wheels or a balance bike a few years later. Learning to ride and teaching your kid to pedal is a rite of passage for the child and parent. Cycling is a form of toy and then a development tool. It gives them the physical activity they need and gets them to socialize with other kids outdoors instead of being fixed indoor and focused on one screen to another. And as they get older, the bicycle represents freedom and a way to get around.
For anything skill that has to be taught, one must surely contemplate - What is the best method to employ for learning success?
Don't worry, we've done the research and have put together the steps that you can use to make the process of teaching and learning cycling fun and easy for both your kid and for you.
Right Age to Learn the Bicycle
Most kids learn to ride anywhere between the ages of three to seven years of age. Six to seven years is favourable rather than when they are younger. At that age, most young people can balance, steer, have the required hand-eye coordination, pull the brake levers, and have the leg strength to pedal and understand basic instructions. Yes, these are the multi-skills that are necessary for anyone to cycle. As adults, most of us have forgotten all the competencies that come together to pedal. The age range is not set in stone. Use your intuition and remember that not all kids will be ready to learn a new skill at the same age. Let your child take their time and not feel pressured.
How long would it take to teach a kid who is ready to learn?
It depends a lot on the child, and each of them is unique. Some tutorials will say 5 minutes, others 45 minutes, and yet another three days. Don't worry about time. We will help you explore a method that has worked for most kids to learn to cycle in a short span.
Pre-teaching Requirements
You probably would use their bicycle, which was initially fit with training wheels. Check that it is the right size by having the child straddle it with both feet firmly planted on the ground, ensuring a gap of 1-2 inches from their groin to the top tube. Also, ensure that the reach of the bike seat to the handlebars is comfortable without the kid having to lean forward or overstretch their hands. Additionally, check that the child can reach the brake levers while holding the handles and comfortably use them.
Choose a less crowded ground or park with no stones and rubble but preferably firm yet not hard landing to cushion a fall. The grass may appear appealing but is not the best bet when trying to glide as it does not provide the momentum required when learning. Prepare the bicycle for training by taking the pedals off and adjusting the seat to lower it so that the trainee bicyclist is seated on the saddle and their feet can touch the ground. Now you're all set to follow the 6-Step Glide Method
6-Steps Glide Method:
Gliding is a popular method, and scores of trainers and parents have found success teaching kids with this style. This approach works for youngsters who have previously used bicycles with training wheels.
Step 1: Mounting & Dismounting
Have the child practice mounting and dismounting using one foot planted firmly on the ground and the other to be lifted over the bicycle around the rear wheel and across the seat and placed on the floor.
Step 2: Using Brakes
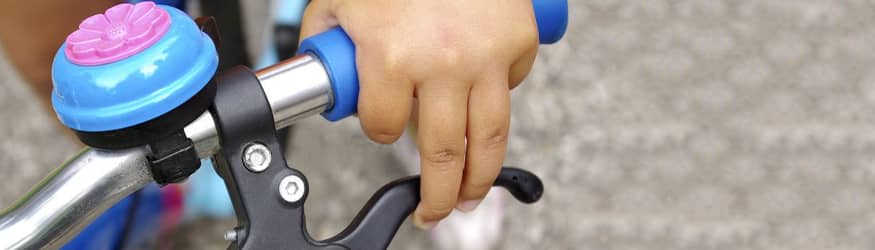
Get the child to walk alongside while rolling their bike and stop at intervals using the handbrake levers. By practicing this action, they will get used to using brakes, and it will feel normal when they start pedaling.
Step 3: Scoot Along
While seated on the saddle, have the child use giant steps one foot and then the other to scoot along. At all times, get the child to focus and watch their direction of travel and not at their feet. Instinctively, a new learner tends to look down, requiring the trainer to constantly remind them to look ahead.
Step 4: Gliding
Get them to scoot with both feet simultaneously and glide for longer distances while they balance and look ahead in the direction of their riding. They need to practice this till they are comfortable and confident.
Step 5: Manoeuvre the Handlebar
Use obstacles to teach them to maneuver the handlebar while scooting and gliding. Again, get them to practice this step till they are confident. Again, don't forget to remind them to look ahead in the direction of travel.
Step 6: Putting it all Together.
Put back the pedals one at a time and let the child practice more glides with one foot on the pedal. Once the kid is confident using one foot on the pedal and the other foot to glide, you can attach the second pedal. Now get them to move ahead slowly by using the pedals. When they have practiced well and are confident, they can attempt to stop the bicycle by pressing the brakes.
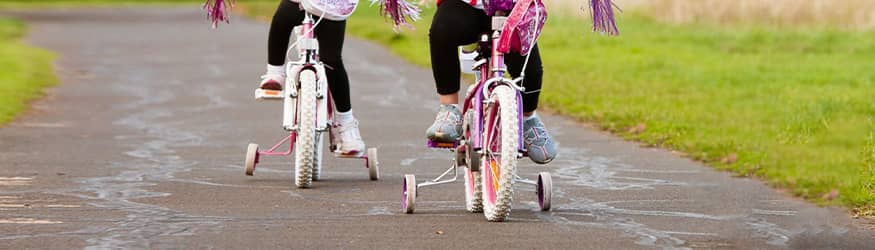
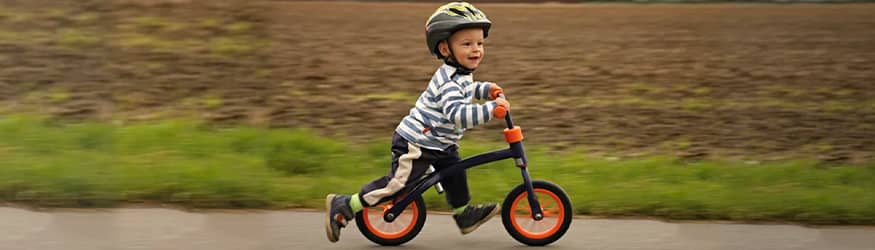
Balance Bike to Bicycle
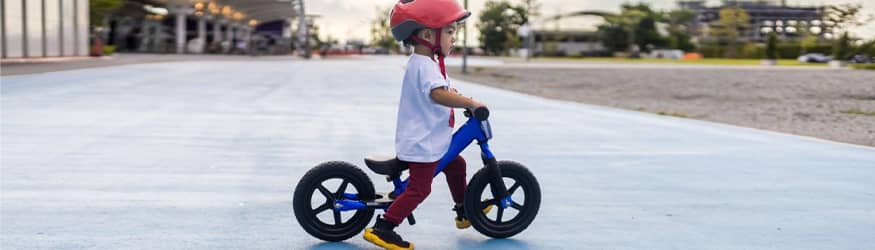
If the child's first bicycle happens to be a balance bicycle, then the teaching method would be slightly different since they have already figured out balancing on two wheels. You would then assist them in using a pedal bike by following these steps. But first, ensure the location you pick is safe from traffic and free from obstacles and rubble, and stones. Adjust the saddle height so that the balls of their feet can touch the ground.
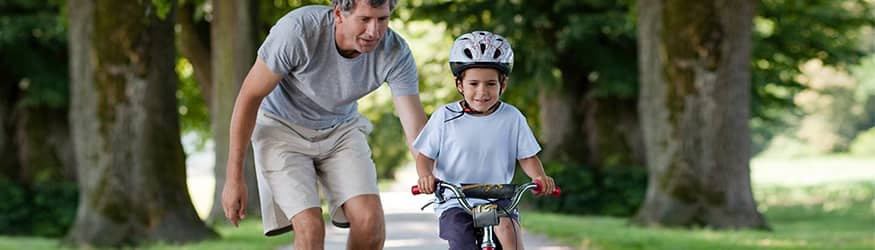
Step 1:
Stand behind the bicycle, hold the child under the arms, and steady the bike's back wheel between your knees while the child gets into the cycling start position.
Step 2:
Let the kid pedal while you walk or run alongside and lightly support by holding under their arms or shoulders. As they pedal and the momentum balances the bike, you can lightly hold to support and even take away momentarily in-between. Continuing this practice would eventually get the kid to be able to ride independently. One big do-not in this method Don't be tempted to give support by holding the bicycle seat, the handle, or anywhere on the bicycle.
Step 3:
Get them to walk alongside while rolling their bike and stop intermittently by pressing on the brakes. Let them know that the pull on the brake lever has to be a gentle motion and not abrupt.
A Few Don'ts
1) Most have learned with a parent or an elder relative who held the seat from behind and ran alongside as we pedaled. It's not an effective tactic, mainly because they act of running alongside tends to wobble the bike and counteract any balancing technique your student should be learning.
2) Don't hasten the pace of the child. Some children may take longer, and some may be quicker picking up the skill. Remember, this is a fun activity, and it should be such.
3) Don't make all these steps a single event or a single-day activity. Some kids would find a break or return to continue learning better and not pressurizing.
No one, especially young children, reacts well to stress, pressure or negativity. Stay positive and patient while the child is learning. It should be a fun and enjoyable experience. If it stops being that way, take a break and restart the next day.
Once the child is cycling comfortably, have them practice to build confidence. As they get a bit older, you can teach them about safety while riding on roads, how to use hand signals and recognize signboards, and then they can move on to longer rides and on streets.
If you have a unique technique that you found success with, please share it with us by posting in the comments below.
Related Blogs
Electric Bicycle
The Top 5 Mistakes to Avoid When Buying an Electric Cycle-
Gaurav Desai

- 4-minute read
Electric cycles, or e-bikes, have quickly gained popularity as an environmentally benign mode of transportation, exploration, and exercise. With rising fuel prices and a growing emphasis on sustainable living, many people are turning to electric bikes as a more economical alternative to cars and public transportation.
Mountain Bikes
Top 5 Mountain Bikes Under 25k-
Team 91
- 4-minute read
The top 5 MTBs under 25k based on reviews, market research, and their outstanding features.
Cycling Guides
Buying Guide For Mountain Bikes-
Team 91
- 4-minute read
Confused as to which MTB is perfect for your mountain biking adventure? Read on to get all the information you need.